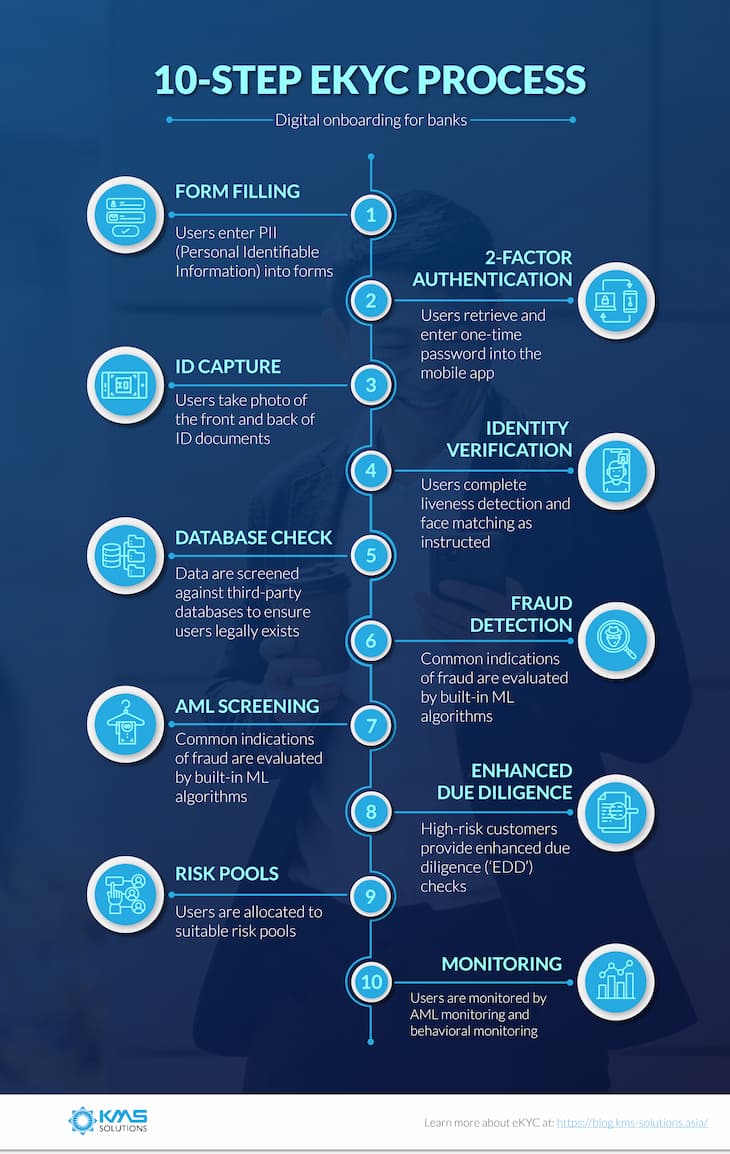
While eKYC describes the technologies (face matching, liveness detection, OCR) that banks use to verify online applicants, an eKYC process refers to the workflow of how those technologies are used. Having a well-defined eKYC process is critical as it gives banks a comprehensive view of customers’ onboarding journey.
In this article, we will explore a tried-and-true 10-step eKYC process.

———-
1 – Online Form
At this first stage of the eKYC process, forms are displayed, asking for users’ PII (Personal Identifiable Information)*.
While different banks cam expect different personal data from users, some essential ones are:
- Name
- Address
- Date of birth
- Phone number
- Social security
An eKYC solution should provide customization for form, where banks are allowed to edit, add, or remove input fields to fit their needs.
(*) data that could be used to identify a person.
2 – Two-factor authentication
The most popular form of two-factor authentication for eKYC processes is via SMS. In an eKYC process, two-factor authentication works like this:
- users enter their phone number
- A one-time password is automatically sent to customers’ phones, and
- Customers retrieve and enter that password into their mobile app.
Two-factor authentication is widespread in today’s eKYC processes, even though it’s not a regulatory requirement (and adding it to the eKYC process sure can increase attrition). But if banks wish to validate the authenticity of users and prevent fraudulent attempts.
3 – ID Capture
Users are asked to take photos of the front and back of their identity documents, including ID cards, passports, and driver licenses.
One ID Capture’s best practice in the eKYC process is to provide context and instructions to users. For example, a simple message that reads “please position the front of your ID card into the frame” would do just fine.
Behind ID Capture is OCR (Optical Character Recognition), which is a Machine Learning technology that can extract data off the ID documents.
See more: Top eKYC solutions providers, ranged by unique selling points
4 – Identity verification
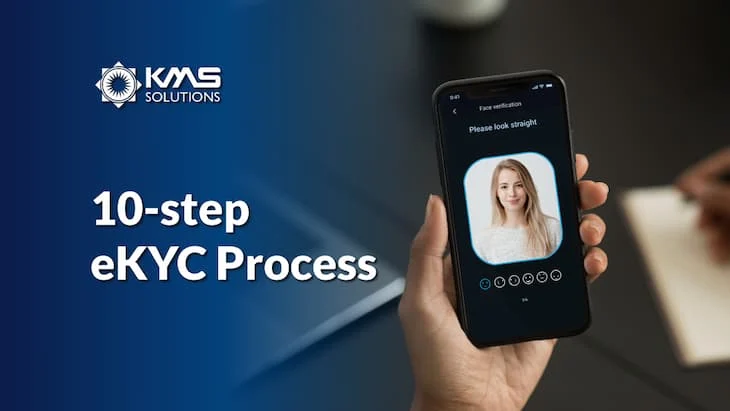
This step helps banks know if the applicant and the one on the documents are the same person. In an eKYC process, identity verification typically includes face matching and liveness detection.
- Face matching: User takes a selfie to prove picture in selfie matches picture on ID document. This answers the question “Is the person holding the ID the same person shown in the ID photo?”
- Liveness detection: users are asked to allow access to the camera, face it, and follow instructions (nodding, turning left/right). This answers the question “Is the person holding the ID physically present during the transaction?”
For first-time users, these eKYC processes may appear confusing. New users can easily fail to complete face matching and liveness detection. When they are forced to redo these verifications again and again, then frustration is inevitable. Therefore, it’s important to instruct them with clear, easy-to-understand guidance in this step and throughout the eKYC process.
5 – Database Check
The eKYC process pings all the third-party databases, including CIC, Personal Income Tax, and Social Security in order to ensure that the applicant legally exists.
The more databases the eKYC process is integrated with, the better it gets in verifying users’ identity.
6 – Fraud Detection
Common indications of fraud (such as suspicious IP address, email address, or even the speed at which users fill out the form) are evaluated by built-in ML algorithms.
This fourth step is happening in the background, which means it’s not visible to users. Mostly, users are shown a message letting them know that their information is being processed.
7 – AML Screening
Users’ provided data and images are screened against government-issued watchlists and politically exposed person lists. This step is essential to ekYC processes, because it ensures compliance with anti-money laundering (AML) policies and procedures as required by regulators.
8 – Enhanced Due Diligence
This step asks for additional document and/ or enhanced due diligence (‘EDD’) checks for high risk customers. For example, Users are required to capture proof of address – e.g. copy of bank statement or utility bill.
9 – Risk Pools
Based on all the checks completed so far in the eKYC process, users are allocated to suitable risk pools. In the meantime, those who are flagged as high risk are set aside and manually reviewed.
10 – Ongoing Monitoring
The eKYC process does not end after the customers have been onboarded. Once users have their account, they are continuously monitored. This step includes AML monitoring and behavioral monitoring (anomaly detection).
Conclusion
It should be noted that the above eKYC process is hardly one-size-fits-all. Depending on the types of products that banks offer, some steps can be eliminated. For example, this eKYC process is best-suited for products with high-risk profiles such as investment, personal banking, and payments. For low risk products including children’s prepared card, banks can do away with two-factor authentication and enhanced due diligence.
To get an eKYC process tailored to your digital banking requirements, feel free to schedule a meeting with us to see the demo and explore how our solution can fit into your digital banking ecosystem.
*Note: our eKYC solution can only be applied to businesses within the Vietnam market.


